Managing projects
This guide shows you how to create, edit, copy, share, delete, and manage your projects in Sympheny.
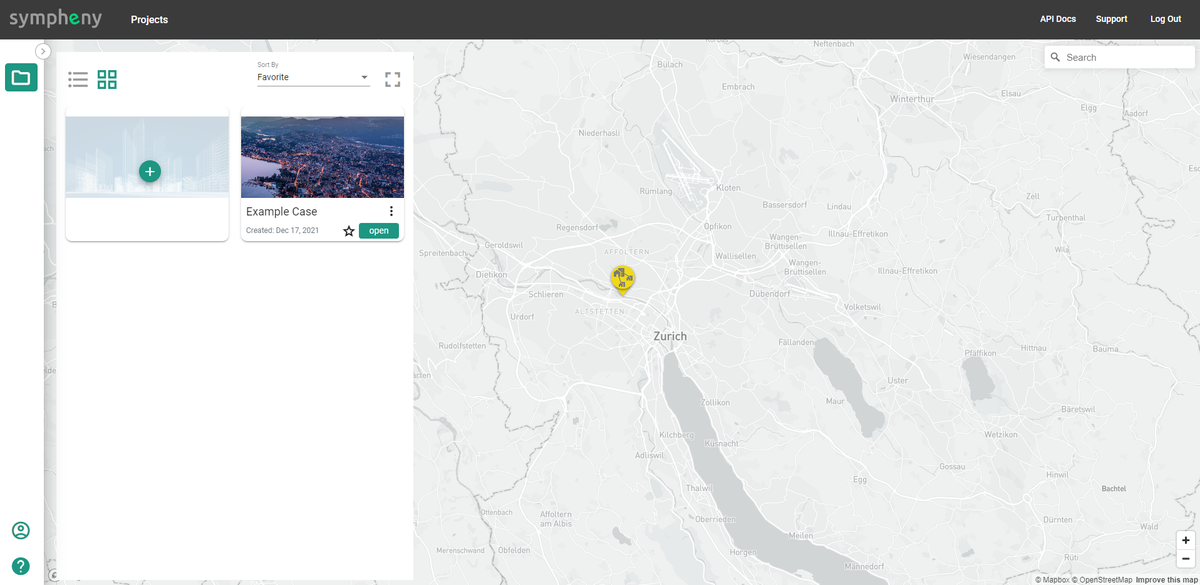
Navigate your projects page
When you log in, you land on your Projects page. This page shows a geolocation view of all your existing projects. A sample project named "Example Case" is available to demonstrate project functionality.
Create a new project
- Click the Add project
 button.
 - Assign a name and geolocation for your project.
- Click Save.
Manage existing projects
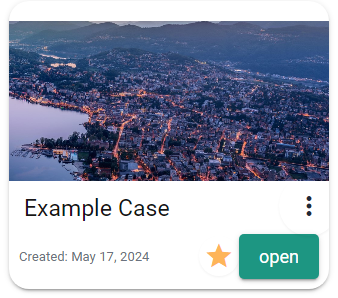
Most project management actions start by clicking the three dots on the project you want to work with. This opens a menu with the following options:
- Edit project
- Copy project
- Delete project
- Send project copy
- Reinitialise project
- Share project
Send a project copy
To send a project copy to another Sympheny user:
- Choose Send project copy from the menu.
- Enter the recipient's email address.
- Click Send to deliver the project copy.
Note
The recipient receives a copy of the project's current state. Any changes you make afterward are not reflected in their copy.
Share a project
Sharing grants other users access to your Sympheny projects. To share a project:
- Choose Share project from the menu.
- Choose Add secondary owner. You can add multiple users.
- For each user, set an access level: Read-only (view the project but not modify it) or Edit (full control).
- A project locks after a user starts working in it. It unlocks automatically after 10 minutes of inactivity, or you can click the unlock button next to the project's name on the Analysis page.

Reinitialize a project
This option is available only for the example projects provided by Sympheny. Click such a project, then select Reinitialise project to restore it to its original state.